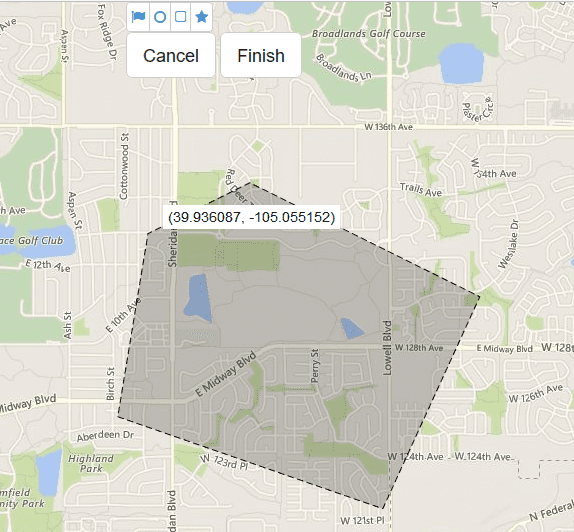
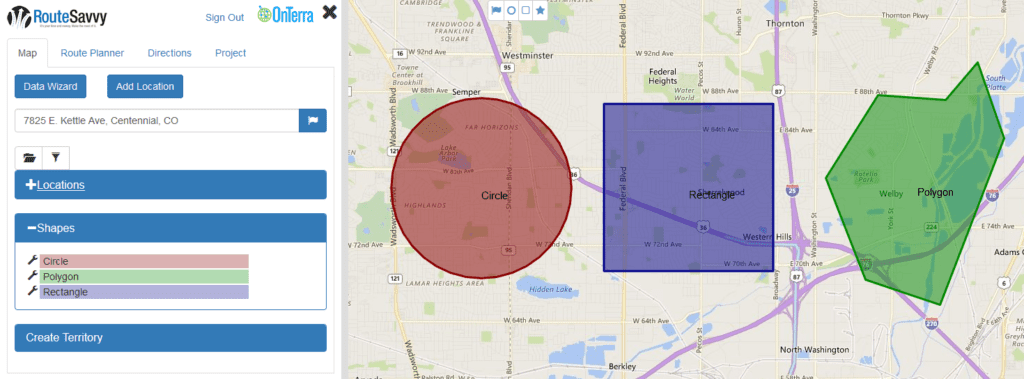
To create/draw shapes select the circle ![]() , rectangle
, rectangle ![]() , or polygon
, or polygon ![]() icon from the top of the map in RouteSavvy.
icon from the top of the map in RouteSavvy.
Draw Circle
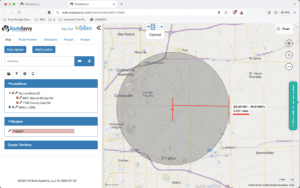
Left-click the mouse to place the center of the circle, then drag outwards until the circle is the desired size. Once completed, right-click on any empty space inside the area to open the Shape Actions menu.
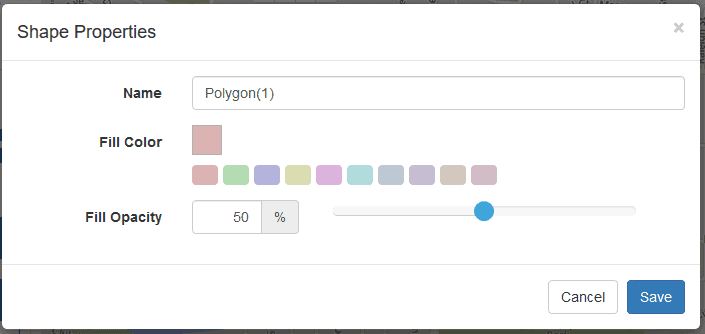
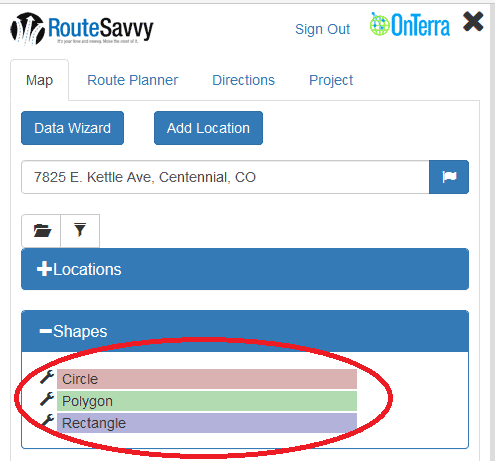
“Save to Shapes” permanently saves the shape to the map, and to the Shapes menu on the Locations tab, though the shape can be deleted later. “Dismiss this Area” removes the shape from the map.

Notice that the Circle Tool displays the distance of the radus of the circle in miles, so if you click on a specific location and drag outwards, you can see the distance, 05.007 miles in the example below.
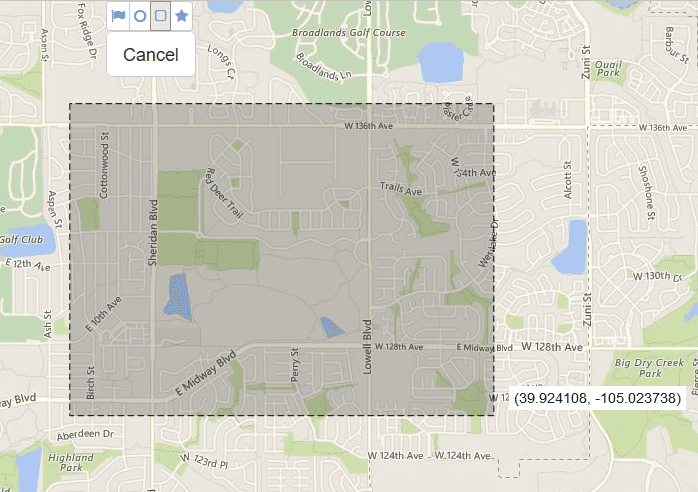
Draw Rectangle
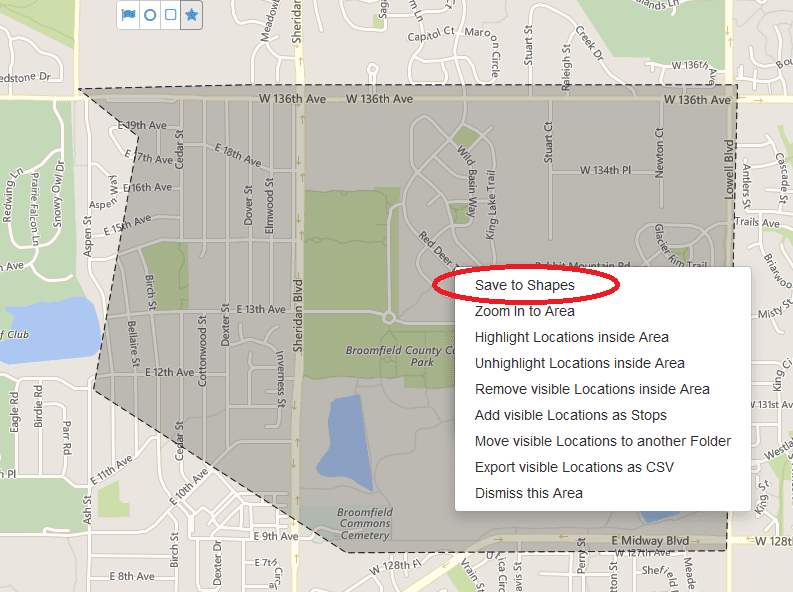
Left-click the mouse and hold to place the upper-left corner of the rectangle, then continue by dragging the cursor to create the desired shape of the rectangle. Once complete, right-click on any empty space inside the shape to open the Shape Actions menu.
“Save to Shapes” permanently saves the shape to the map, and to the Shapes menu on the Locations tab, though the shape can be deleted later. “Dismiss this Area” removes the shape from the map.