
Data Upload button (User Guide 2.2) – Allows you to bulk upload multiple addresses with either CSV or XLSX file formats. This does not create stops or routes, it simply places the locations on the map, and you can then create routes and stops yourself. This can be very useful for more complex scenarios.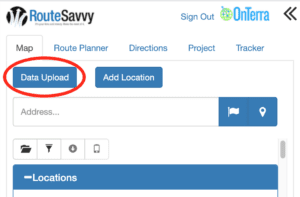
Add Location button – Allows you to add one address at a time, entering the address and notes information manually.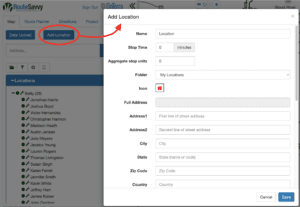
“Address…” search bar – Allows you to quickly add any address. Simply start typing the address and then click on the full address when it pops up in the list of results.
To place the location on the map, click the “flag” button right next to the search bar.
Please note, you can also search by Point Of Interest in this bar using a business name, or well-known landmark.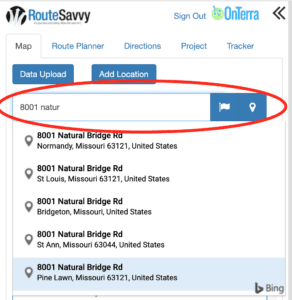
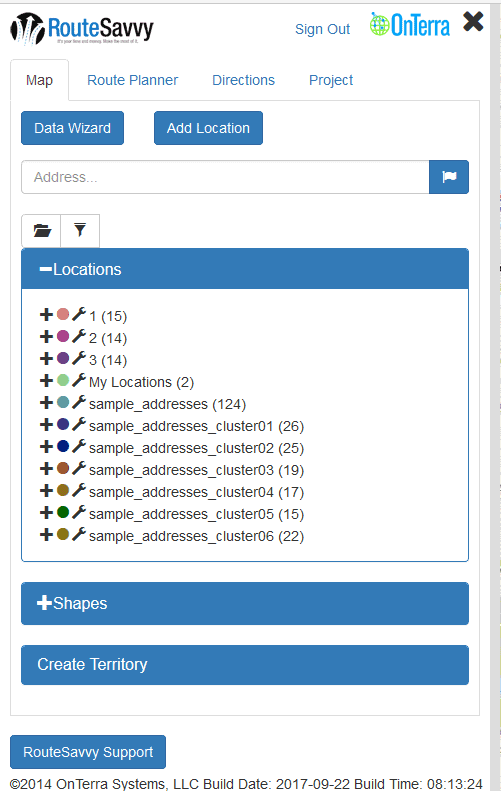
Folder icon (User Guide 2.5) – Allows you to create a new folder.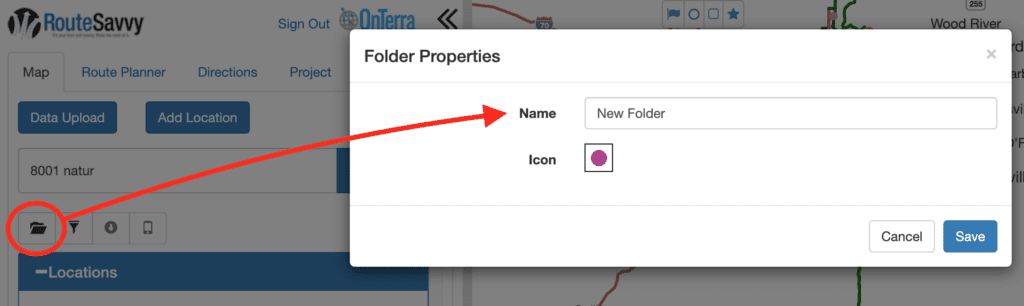
Filter icon – Allows you to filter locations with any full/partial text value. Be sure to press the filter button again and “Stop Filtering” when you are done. This tool will find any text, whether it’s in the location name, the address, or the location notes.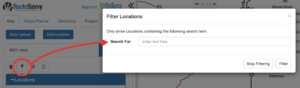
Show Fixed Locations icon – Shows any fixed locations uploaded by a mobile device.
(See RouteSavvy Mobile Tracker – User Guide )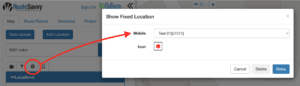
Show Completed Stops icon – Shows completed stops for a mobile device.
(See RouteSavvy Mobile Tracker – User Guide )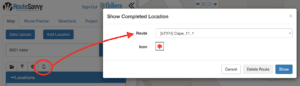
Locations section (User Guide 2.4) – Contains folders and locations (addresses) added and stored in RouteSavvy.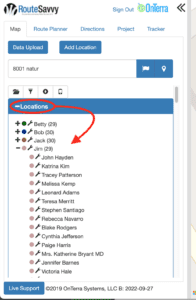
Shapes sections (User Guide 5.1) – Contains all shapes (circle, rectangle or polygon) created and stored in RouteSavvy.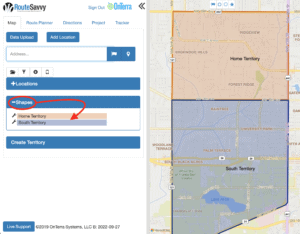
Create Territory (User Guide 5.3) – Allows you to create territories which are then saved as a polygon shape. In the U.S., you can build or import territories by ZIP Code, County, State, or Country.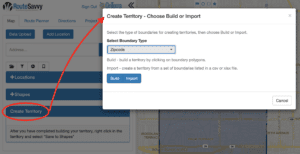
RouteSavvy Live Support button – Allows you to jump to support options.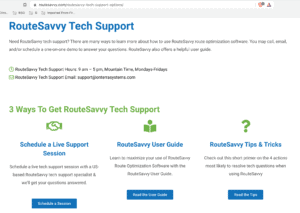
If you have questions contact RouteSavvy Support.